
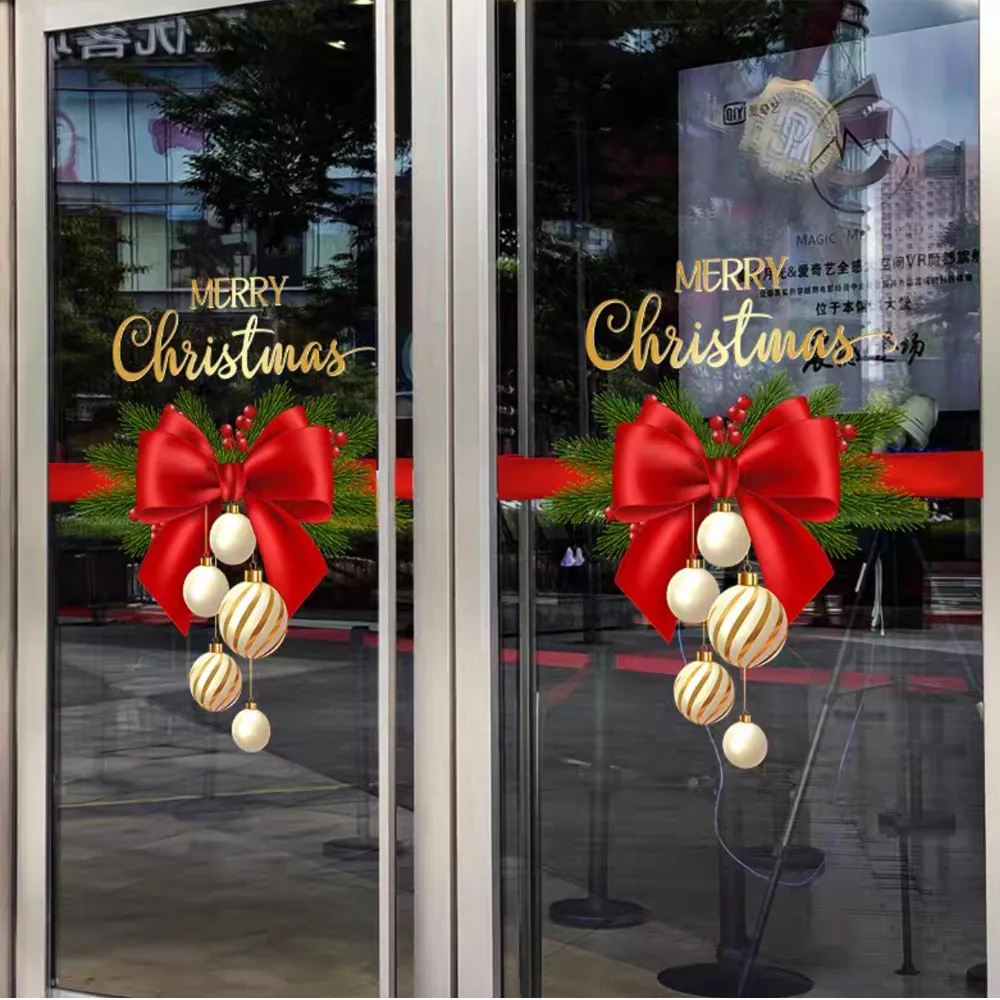
Stamping on glass is a popular way to create shiny, high-end holiday décor. Using a UV6090, you can make gold designs like snowflakes, reindeer, Christmas trees, stars, and bells. Foil stamping on glass produces bright, clean metallic effects with a transparent background.
Using the UV6090 flatbed printer, hot stamping foil, and a laminator/hot stamping machine, you can achieve professional foil stamping on glass with ease.
How Glass Hot Stamping Works
Glass has a smooth surface, so gold foil does not stick naturally. Printing a bright yellow base layer first ensures the foil adheres precisely. Heat and pressure transfer the foil to create a shiny, metallic finish.
Process summary:
- Print yellow patterns onto glass.
- Apply heat and pressure with a laminator or hot stamping machine.
- The foil adheres only to printed areas.
Required Equipment & Materials
UV6090 flatbed printer
Clear glass sheets
Gold hot stamping foil
Laminator / hot stamping machine
Alcohol and lint-free cloth
Full Step-by-Step Process
- Step 1: Prepare the Glass
Clean the glass thoroughly with a lint-free cloth and alcohol. Dust and oil will prevent proper foil adhesion.
- Step 2: Set Artwork Color to Bright Yellow
Set your design’s color to bright yellow. This acts as the adhesive layer for foil stamping on glass.
- Step 3: Print the Pattern with UV6090
Recommended settings:
- Mode: CMYK color
- Yellow areas: solid fill
- Material: Glass
- Auto height measurement
After printing, your glass will display a bright yellow pattern ready for hot stamping.
- Step 4: Apply Heat & Pressure (Hot Stamping)
Recommended parameters:
- Temperature: 70°C
- Pressure: 2–3 kg
- Speed: normal laminating speed
Printing notes: Use feathering or extra passes to create a thick gloss varnish layer. This improves adhesion and 3D texture for a premium look.
Foil Application & Hot Pressing
- Place the printed glass into the hot stamping machine.
- Cover with metallic foil (gold side down).
- Heat and press for a few seconds.
Three essentials:
- Temperature: 70°C
- Proper pressure
- Duration: several seconds
- Step 5: Peel the Foil
- Lift the press.
- Remove excess foil.
Gold remains on printed areas; edges are clean and sharp.
- Step 6: Cool and Reveal the Gold Effect
After cooling, peel off the foil to reveal a shiny gold design on a clean transparent background. Perfect for ornaments, windows, or gift plaques.
Recommended Christmas Designs
Gold stars
Snowflakes
Christmas tree lines
Bells
Reindeer scenes
Santa hats
“Merry Christmas” Lettering
Small & Large Format UV Flatbed Printer Options
For large panels, a large format UV flatbed printer is ideal.
For small projects or gift items, a small UV flatbed printer works perfectly.
Both support foil stamping on glass, hot stamping, and other creative effects.
Why Use UV6090 for Glass Stamping?
- High precision – crisp edges and fine details
- Strong adhesion – long-lasting foil results
- Efficient for batch production – print multiple glasses at once
- Lower cost and faster workflow compared to traditional screen printing or vacuum gold plating
Advantages of the Technology
- No plates needed; print from one piece
- Fast workflow and short production cycle
- Handles complex designs, photos, and gradients easily
- Realistic metallic finish with 3D gloss varnish
- High durability, resistant to scratches and washing
- Accurate positioning for high yield
- Low total cost; ideal for small/medium factories
- Wide applications: personalized gifts, home décor, retail windows, appliance panels
Summary: Make Your Christmas Glass Shine
- Shiny gold finish
- Premium holiday aesthetics
- Unlimited customization
- Higher production efficiency
Perfect for factories, studios, gift shops, and individual creators. With foil stamping on glass, your Christmas glass projects instantly achieve a professional, premium look.